How to add custom fonts to Elementor
Fonts play a great role in display and presentation of your content on your blog.Custom fonts help us in displaying the content in easy to read and presentable manner which is easy and pleasing to read.There are a large number of fonts which can be added to the wordpress editor to give your blog a unique presentation style which makes you stand out from the rest of the herd.In this post we will see how to add custom fonts to the elementor page builder.Although elementor has several unique styles already present if you peek into the typographic section of the text,still there may be some unique fonts which you want to add to the list.So for presentation purposes I will add custom google font to elementor without the use of any plugin.
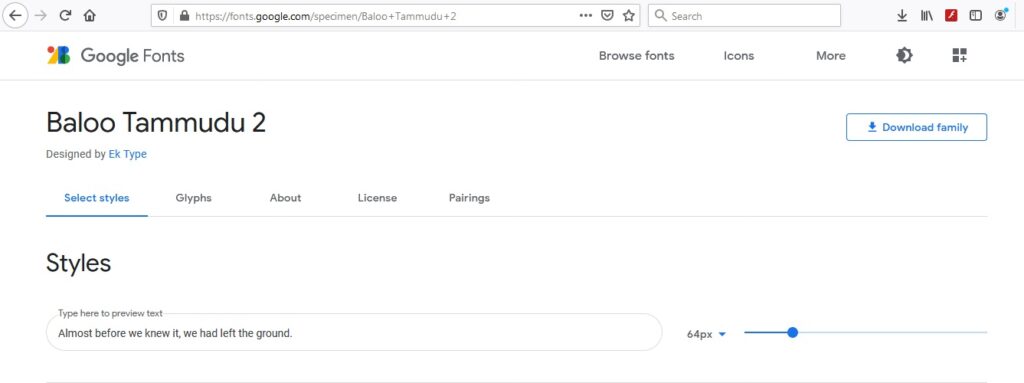
1.Navigate to fonts.google.com and select your font from the list displayed there.
2.There will be several styles of the selected font,click on Download family.

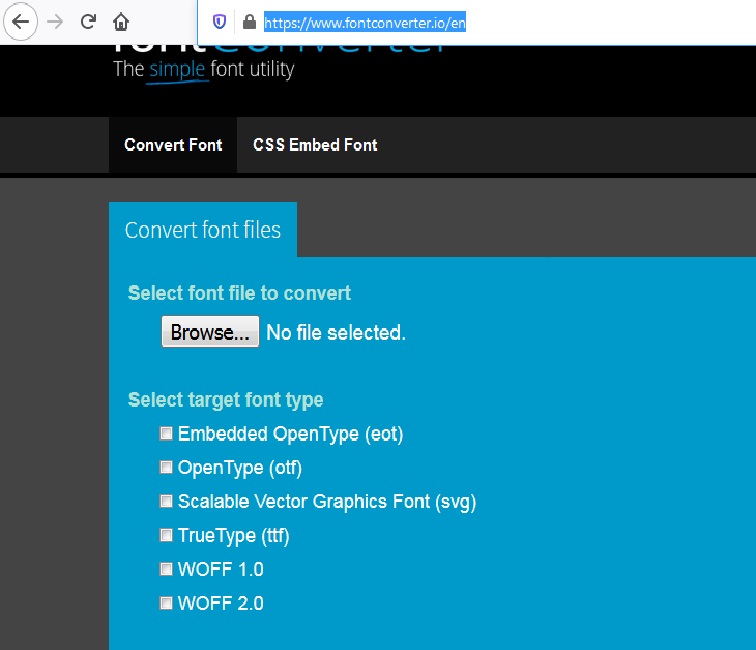
5.Select the format it needs to converted to like True Type(ttf) and click on convert.

6.Download the converted font.
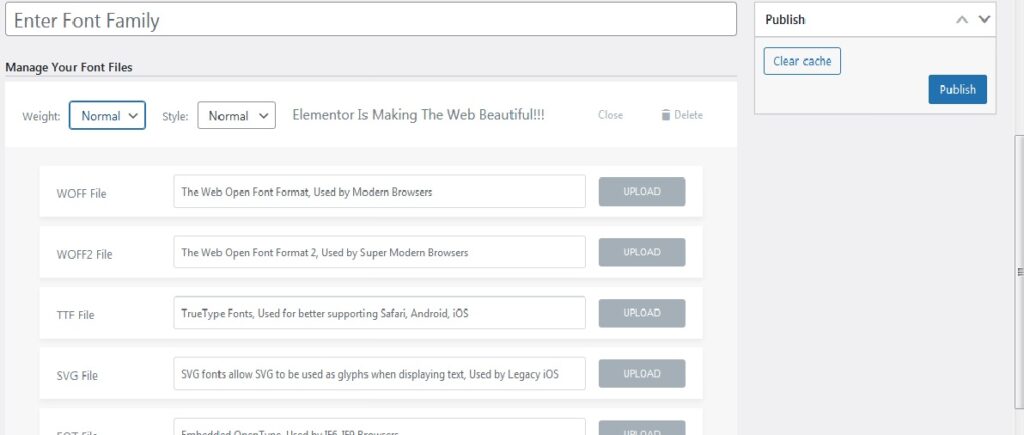
7.Now go to WordPress admin dashboard and click on Elementor Custom fonts.
8.Click on Add New.
9.Enter Font Family name and click on Add Font variation
10.Select weight and style corresponding to your custom converted font style like if you converted normal/regular font with 400 as weight,select the same in here.
11.Click on Publish and you are done.

12.Now open your content in elementor and Click on Styles tab.
13.Click on Typography and select the custom font that has been added just now.
14.Click on update and its applied to your selected text.
